Tiếp tục seri ứng dụng trắc nghiệm đơn giản với Flutter.
Bạn có thể xem lại phần 1 tại đây : Tạo ứng dụng làm trắc nghiệm bằng Flutter – Phần 1
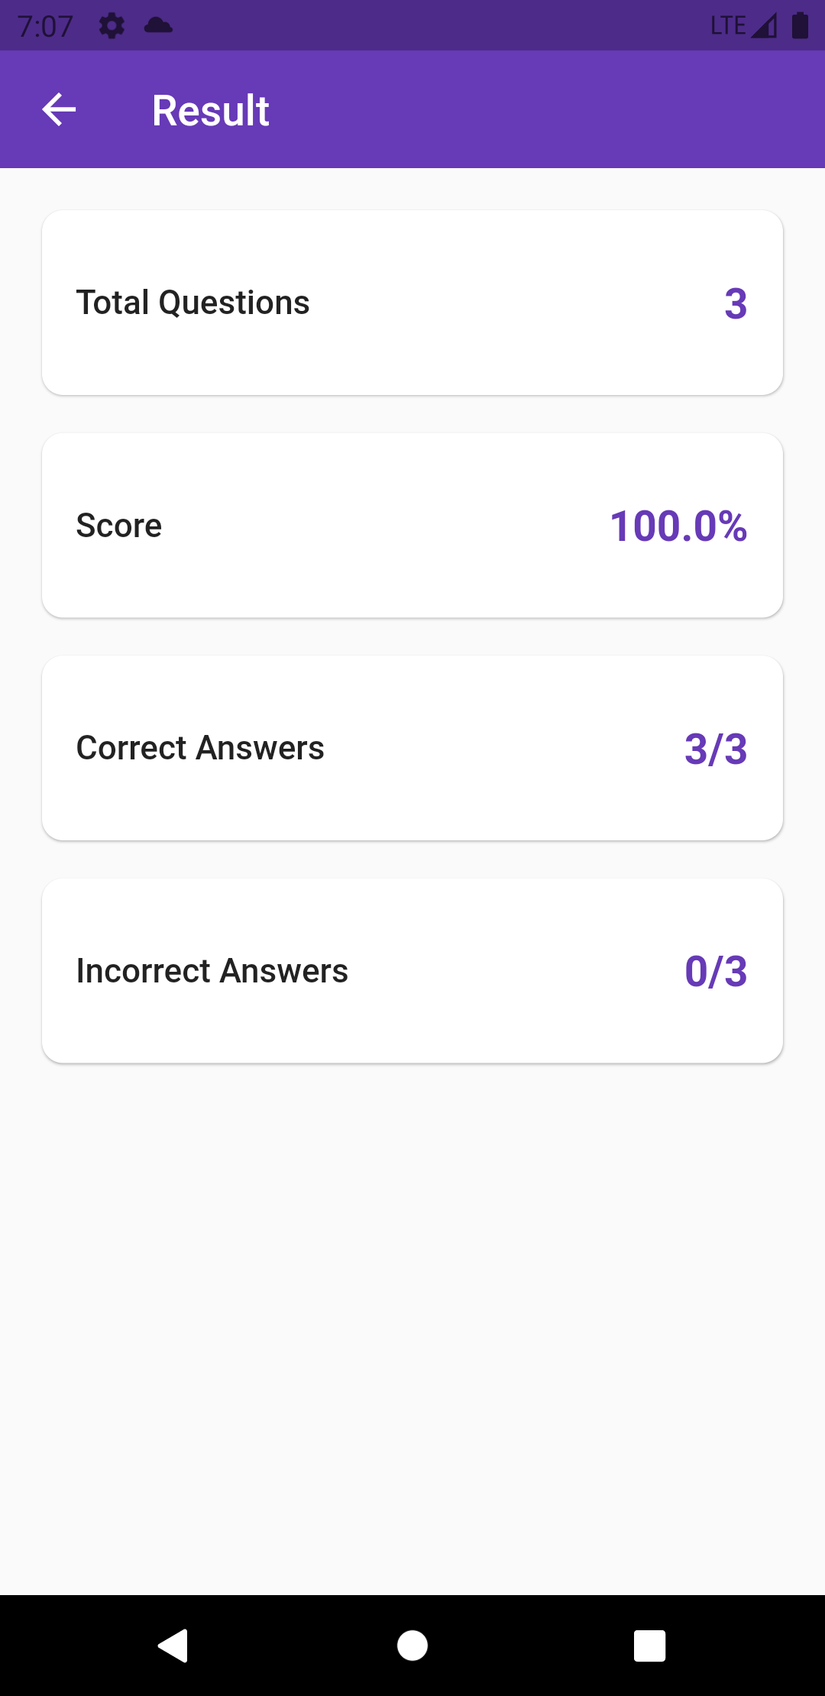
Sau khi đã hoàn thành màn làm trắc nghiệm, chúng ta sẽ thực hiện màn hiện kết quả, số câu trả lời đúng / sai
Ở màn hình làm quiz, chúng ta sẽ tuyền danh sách câu trả lời sau khi hoàn thành bài làm.
Navigator.of(context).pushReplacement(MaterialPageRoute(
        builder:(context)=>QuizResultScreen(answers: _answers),));
Màn Hình Kết quả
Màn này mình sẽ tạo một StatelessWidget với tham số truyền vào một danh sách câu trả lời
classQuizResultScreenextendsStatelessWidget{finalMap<int,dynamic> answers;QuizResultScreen({required this.answers});Widgetbuild(BuildContext context){}}Để lấy số câu trả lời đúng, mình sẽ duyệt danh sách câu trả lời rồi so sánh với đáp án.
int correct =0;finalList<Question> questions = questionsData;this.answers.forEach((index, value){if(questions[index].answer == value) correct++;});Từ đó mình sử dụng Card widget để hiện thông tin:
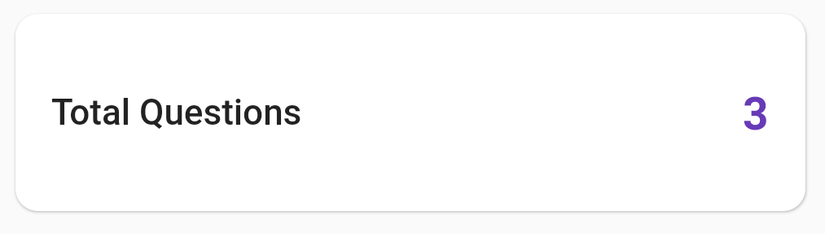
- Total Questions

Card(
                shape:RoundedRectangleBorder(
                    borderRadius:BorderRadius.circular(10.0)),
                child:ListTile(
                  contentPadding:constEdgeInsets.all(16.0),
                  title:Text("Total Questions", style: titleStyle),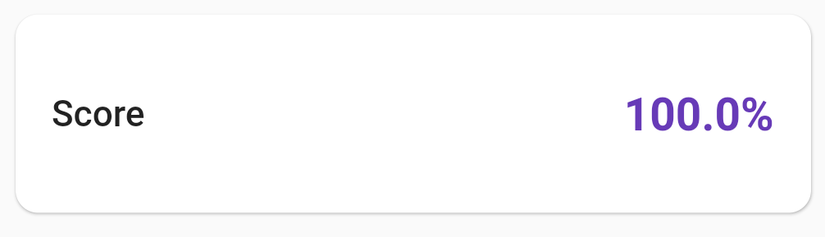
trailing:Text("${questions.length}", style: trailingStyle),),),- Score

Card(
                shape:RoundedRectangleBorder(
                    borderRadius:BorderRadius.circular(10.0)),
                child:ListTile(
                  contentPadding:constEdgeInsets.all(16.0),
                  title:Text("Score", style: titleStyle),
                  trailing:Text("${correct / questions.length * 100}%",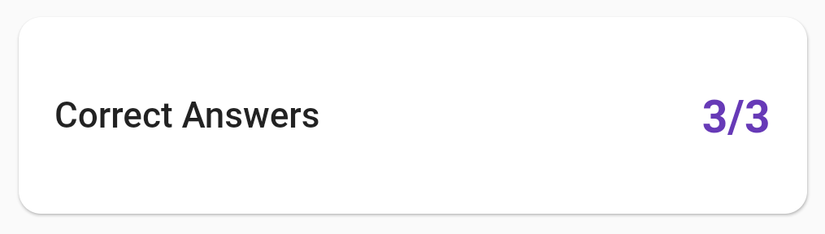
style: trailingStyle),),),- Correct Answers
Card(
                shape:RoundedRectangleBorder(
                    borderRadius:BorderRadius.circular(10.0)),
                child:ListTile(
                  contentPadding:constEdgeInsets.all(16.0),
                  title:Text("Correct Answers", style: titleStyle),
                  trailing:Text("$correct/${questions.length}",
style: trailingStyle),),),- Incorrect Answers

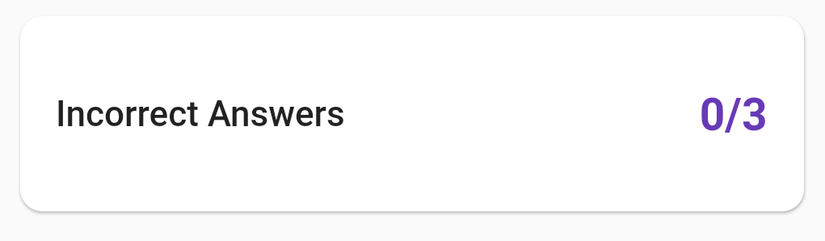
Card(
                shape:RoundedRectangleBorder(
                    borderRadius:BorderRadius.circular(10.0)),
                child:ListTile(
                  contentPadding:constEdgeInsets.all(16.0),
                  title:Text("Incorrect Answers", style: titleStyle),
                  trailing:Text("${questions.length - correct}/${questions.length}",
                      style: trailingStyle),),),
Chúng ta sẽ có một button để chuyển sang màn hình xem đáp án
ElevatedButton.icon(
                icon:Icon(Icons.check_circle_rounded),
                label:Text('Check Answers'),
                onPressed:(){Navigator.of(context).push(MaterialPageRoute(
                      builder:(_)=>CheckAnswersScreen(answers)));},),
Màn Hình Đáp Án
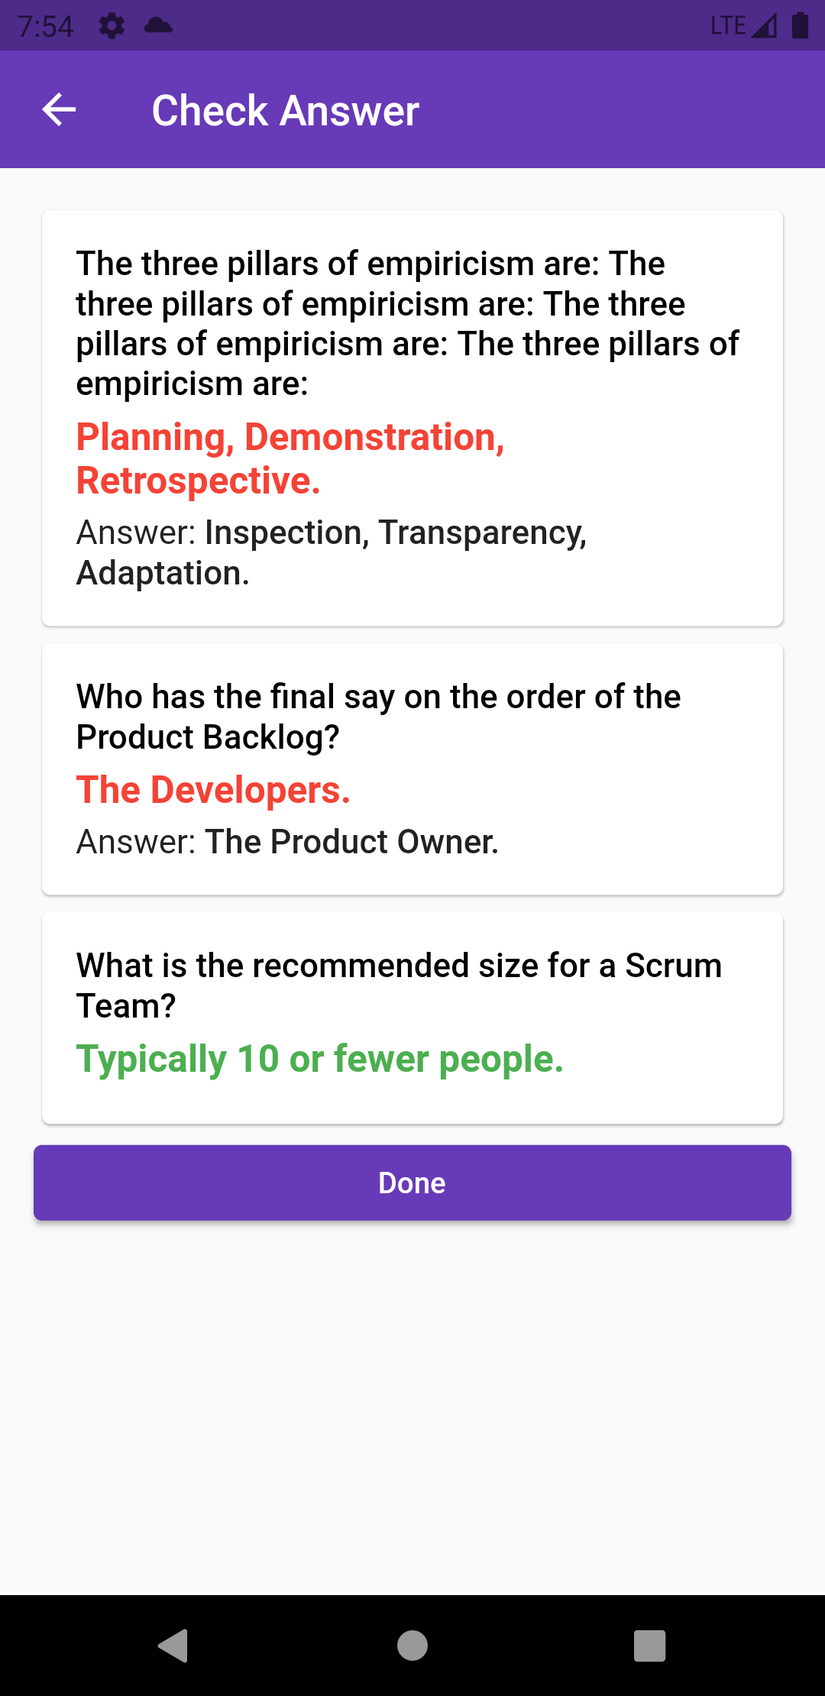
Màn này mình sẽ tạo một StatelessWidget với tham số truyền vào một danh sách câu trả lời
classCheckAnswersScreenextendsStatelessWidget{finalMap<int,dynamic> answers;CheckAnswersScreen({required this.answers});Widgetbuild(BuildContext context){}}Dùng ListView để hiển thị danh sách câu hỏi kèm đáp án.
returnScaffold(
      appBar:AppBar(
        title:Text('Check Answer'),
        elevation:0,),
      body:ListView.builder(
        padding:constEdgeInsets.all(16.0),
        itemCount: questions.length +1,
        itemBuilder: _buildItem,),);}
Widget để tạo item ListView như sau
Widget_buildItem(BuildContext context, int index){finalList<Question> questions = questionsData;if(index == questions.length){returnElevatedButton(
        child:Text("Done"),
        onPressed:(){Navigator.of(context).popUntil(ModalRoute.withName(Navigator.defaultRouteName));},);}Question question = questions[index];
    bool correct = question.answer == answers[index];returnCard(
      child:Padding(
        padding:constEdgeInsets.all(16.0),
        child:Column(
          crossAxisAlignment:CrossAxisAlignment.start,
          children:<Widget>[Text(HtmlUnescape().convert(question.question),
              style:TextStyle(
                  color:Colors.black,
                  fontWeight:FontWeight.w500,
                  fontSize:16.0),),SizedBox(height:5.0),Text(HtmlUnescape().convert("${answers[index]}"),
              style:TextStyle(
                  color: correct ?Colors.green :Colors.red,
                  fontSize:18.0,
                  fontWeight:FontWeight.bold),),SizedBox(height:5.0),
            correct
                ?Container():Text.rich(TextSpan(children:[TextSpan(text:"Answer: "),TextSpan(
                          text:HtmlUnescape().convert(question.answer),
                          style:TextStyle(fontWeight:FontWeight.w500))]),
                    style:TextStyle(fontSize:16.0),)],),),);}
Tổng kết
Vậy là chúng ta đã hoàn thành một ứng dụng làm trắc nghiệm đơn giản với Flutter. Với ứng dụng này chúng ta đã hiểu rõ thêm về Flutter UI, code đơn giản bằng ngôn ngữ dart.
Link project: https://github.com/ngthanhphuc/Quizzy
Nguồn: viblo.asia