Understanding template variables
Template variables giúp bạn sử dụng data từ một phần của một template trong một phần khác của template. Sử dụng template variables để thực hiện các tác vụ như phản hồi thông tin nhập của người dùng hoặc tinh chỉnh các biểu mẫu ứng dụng của bạn.
Syntax
Trong template, bạn sử dụng ký hiệu # để khai báo một template variable. Biến mẫu sau, #phone, khai báo một biến phone với phần tử <input> làm giá trị của nó.
src/app/app.component.html
<input #phone placeholder="phone number"/>Tham chiếu đến một template variable ở bất kỳ đâu trong template của component. Tại đây, một <button> ở phía dưới template tham chiếu đến đến biến phone .
src/app/app.component.html
<input #phone placeholder="phone number"/><!-- lots of other elements --><!-- phone refers to the input element; pass its `value` to an event handler --><button type="button"(click)="callPhone(phone.value)">Call</button>src/app/app.component.ts
import{ Component }from'@angular/core';

@Component({
  selector:'app-root',
  templateUrl:'./app.component.html',
  styleUrls:['./app.component.css']})exportclassAppComponent{callPhone(phone: string):void{
      console.log(phone);}}
Output: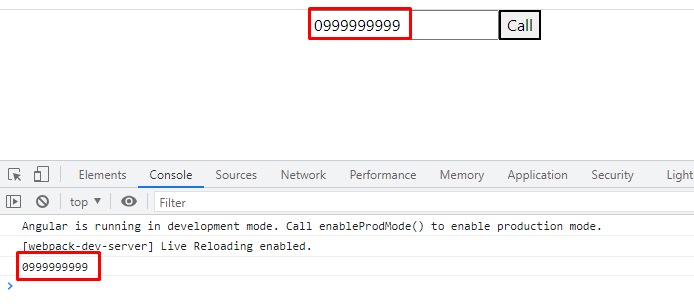
Using NgForm with template variables
Hãy cập nhật code vào template như dưới:
src/app/app.component.html
<div class="container"><form #itemForm="ngForm"(ngSubmit)="onSubmit(itemForm)"><label for="name">Name</label><input type="text" id="name"class="form-control" name="name" ngModel required /><label for="name">Email</label><input type="text" id="email"class="form-control" name="email" ngModel required /><button type="submit">Submit</button></form><div [hidden]="!itemForm.form.valid"><p>{{ submitMessage }}</p></div></div>src/app/app.component.ts
import { Component } from '@angular/core';

@Component({
  selector: 'app-root',
  templateUrl: './app.component.html',
  styleUrls: ['./app.component.css']
})
export class AppComponent {
    submitMessage: string = 'Value input valid!';

    onSubmit(itemForm: { value: { name: any; email: any; }; }): void {
      console.log(itemForm.value.name);
      console.log(itemForm.value.email);
    }
}
Output: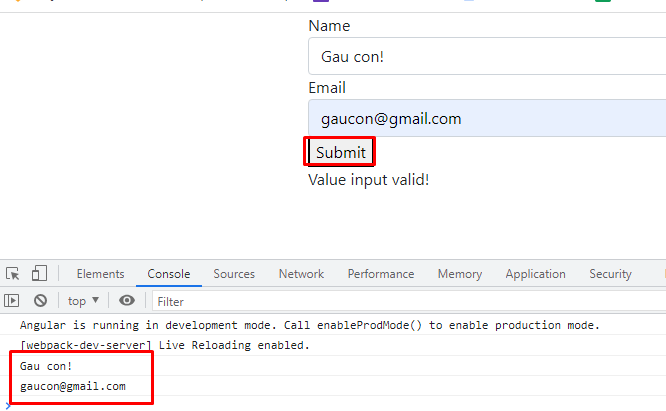
Nguồn: viblo.asia