Bạn là sinh viên, bạn là lập trình viên khó khăn về mặt tài chính, bạn không có xiền thuê VPS, được rồi hãy đến đây!!!. Hôm nay mình sẽ hướng dẫn cho các bạn cách tạo VPS free bằng Github Workflow & Ngrok 😬 😬 😬 . Bài viết này là mở đầu chuỗi seri bài viết về chủ đề tạo VPS free cho mọi nhà.
Lý thuyết (TLDR)
Mình xin phép tóm tắt nhanh phần lí thuyết cho những bạn nào chưa biết 😅:
GitHub Actions
Tài liệu: https://docs.github.com/en/actions
GitHub Actions is a continuous integration and continuous delivery (CI/CD) platform that allows you to automate your build, test, and deployment pipeline. You can create workflows that build and test every pull request to your repository, or deploy merged pull requests to production.

GitHub Actions goes beyond just DevOps and lets you run workflows when other events happen in your repository. For example, you can run a workflow to automatically add the appropriate labels whenever someone creates a new issue in your repository.

GitHub provides Linux, Windows, and macOS virtual machines to run your workflows, or you can host your own self-hosted runners in your own data center or cloud infrastructure.
Chúng ta có thể hiểu đơn giản GitHub Actions là một event-driven nghĩa là chương trình chạy một loạt jobs (các dòng lệnh) khi nhận được 1 event. Trong jobs phân chia thành nhiều step khác nhau và sắp xếp các step để chạy
Ví dụ: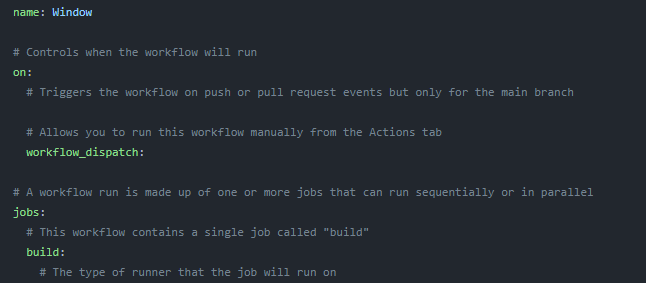
Workflow trên sẽ thực thi các job khi được nhận event workflow_dispatch (người dùng run workflow theo cách thủ công từ Actions tab) .
Ngork
Ngrok là công cụ tạo đường hầm (tunnel) giữa localhost của bạn và internet hay nói một cách đơn giản nó là công cụ giúp public cổng trên máy bạn ra ngoài internet.
Với công cụ này chúng ta có thể public các cổng như 3389,22 từ local để có thể thực hiện remote máy tính từ xa
Link download: https://ngrok.com/download
Thực hành
Tạo tài khoản
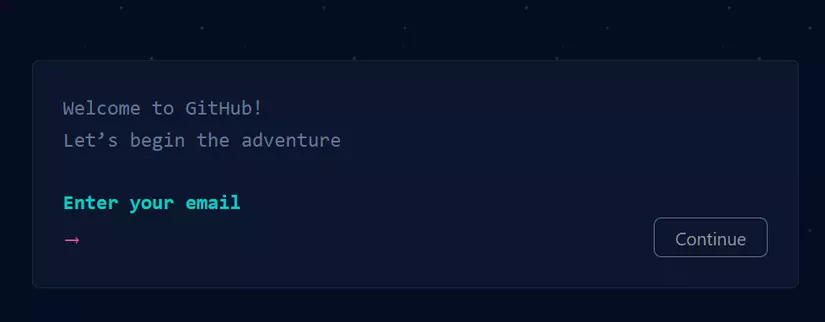
- Github: Nếu bạn đã có tài khoản thì mình khuyến cáo bạn nên tạo tài khoản mới để tránh tài khoản cũ bị ban.
Link đăng kí: https://github.com/signup![]()
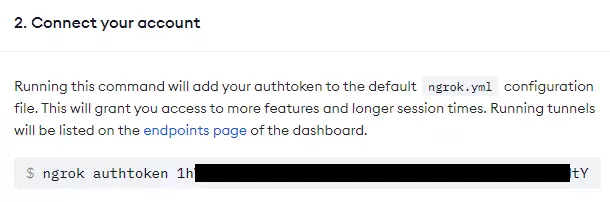
- Ngrok: Thực hiện tạo tài khoản ngrok và lưu lại token
Link đăng kí: https://dashboard.ngrok.com/signup![]()
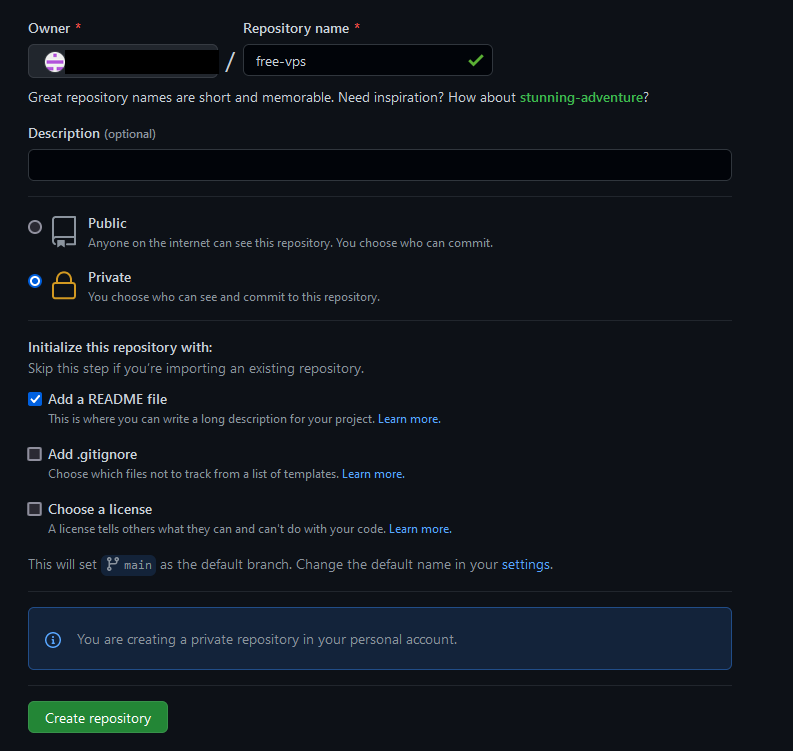
Tạo repo
Thực hiện tạo một repo private
Tạo action
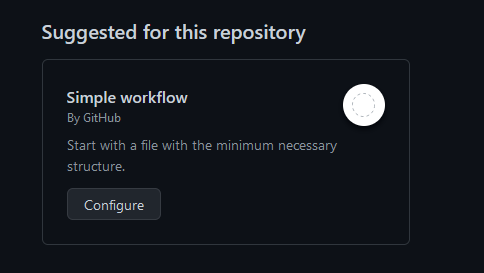
Chuyển qua tab Actions và chọn “Configure” Simple workflow
- Thực hiện sủa nội dung blank.yml như sau:
Đối với VPS window
name: Window

on:
  workflow_dispatch:

jobs:
  build:
    runs-on: windows-latest
    steps:
      - name: download ngrok
        shell: powershell
        run: |
          Invoke-WebRequest https://bin.equinox.io/c/4VmDzA7iaHb/ngrok-stable-windows-amd64.zip -OutFile ngrok.zip
          Expand-Archive ngrok.zip
      - name: run ngrok
        shell: powershell
        run: |
          .ngrokngrok.exe authtoken $Env:NGROK_AUTH_TOKEN
          Start-Process Powershell -ArgumentList '-Noexit -Command ".ngrokngrok.exe tcp 3389"'
        env:
          NGROK_AUTH_TOKEN: ${{ secrets.NGROK_AUTH_TOKEN }}

      - name: Activating RDP access.
        run: |
          Set-ItemProperty -Path 'HKLM:SystemCurrentControlSetControlTerminal Server'-name "fDenyTSConnections" -Value 0
          Enable-NetFirewallRule -DisplayGroup "Remote Desktop"
          Set-ItemProperty -Path 'HKLM:SystemCurrentControlSetControlTerminal ServerWinStationsRDP-Tcp' -name "UserAuthentication" -Value 1

      - name: Change pass for RDP.
        env:
          ADMINPASSWORD: ${{ secrets.ADMINPASSWORD }}
        run: net user runneradmin $Env:ADMINPASSWORD

      - name: Get Ngrok
        run: Invoke-WebRequest http://localhost:4040/api/tunnels

      - name: Run loop
        run: ping -t localhost
Đối với VPS ubuntu:
name: VPS
on:
  workflow_dispatch:

jobs:
  build:
    runs-on: ubuntu-latest
    steps:
      - name: update and upgrade
        run: sudo apt-get update -y && sudo apt-get upgrade -y
      - name: install ngrok
        run: |
          curl -s https://ngrok-agent.s3.amazonaws.com/ngrok.asc | sudo tee /etc/apt/trusted.gpg.d/ngrok.asc >/dev/null && echo "deb https://ngrok-agent.s3.amazonaws.com buster main" | sudo tee /etc/apt/sources.list.d/ngrok.list && sudo apt update && sudo apt install ngrok

      - name: Run sshd
        run: sudo service sshd start

      - name: Change pass
        run: yes superpass | sudo passwd

      - name: add user
        run: |
          sudo useradd -m superuser
          yes superpass | sudo passwd superuser
          sudo usermod -aG sudo superuser

      - name: Run ngrok
        env:
          NGROK_AUTH_TOKEN: ${{ secrets.NGROK_AUTH_TOKEN }}
        run: |
          ngrok authtoken $NGROK_AUTH_TOKEN
          ngrok tcp 22 &
      - name: Get Ngrok
        run: curl http://localhost:4040/api/tunnels

      - name: run loop
        run: tail -f /dev/null
- Bấm “Start commit” để lưu kết quả.
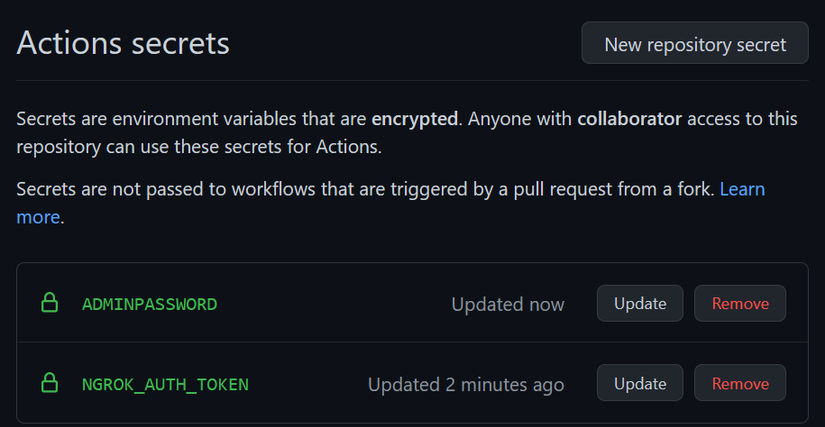
Tạo secret
- Chuyển qua tab “Settings” của repo > “Secrets” > “New repository secret”.
- Thực hiện set giá trị cho NGROK_AUTH_TOKEN và ADMINPASSWORD (nếu chọn VPS window)
![]()
Được rồi, đi thôi !!!
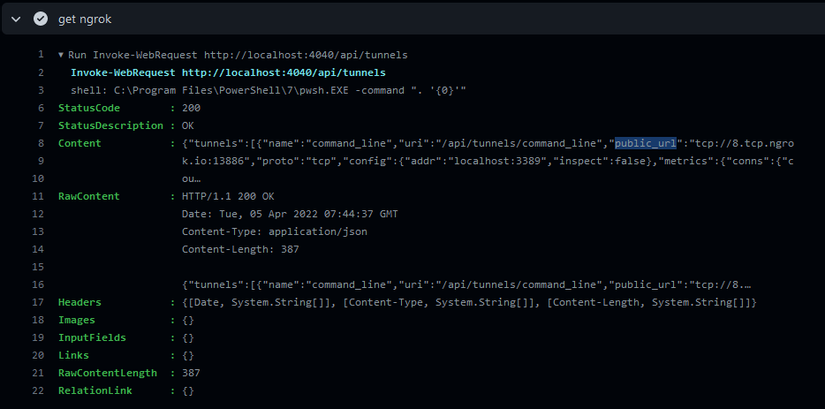
- Chuyển qua tab “Actions” > chọn workflow > “Run workflow”.
- Thực hiện xem log của workflow, tại bước “get ngrok” ta lấy thông tin trường public url để RDP hoặc SSH.
![]()
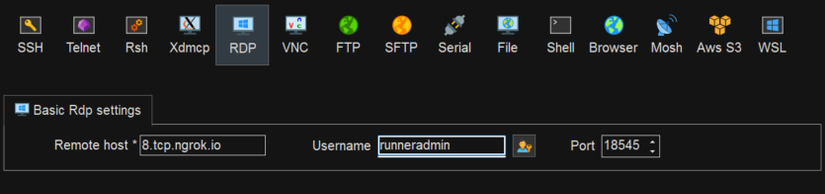
- Sử dụng các công cụ RDP như MobaXterm hoặc freeRDP,.. để thực hiện RDP hoặc SSH tới VPS free chúng ta vừa tạo (user RDP: runneradmin )
![]()
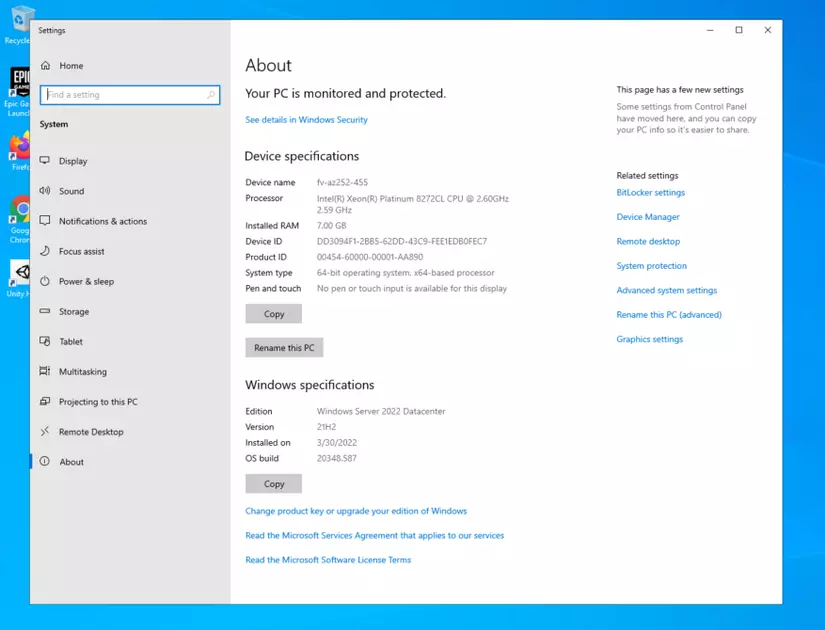
- Thành quả: Chúng ta có ngay VPS Window 2022 Datacenter với 7GB ram 🤩🥰
![]()
Lưu ý
VPS free được tạo bằng Github Actions chỉ có thể tồn tại tối đa 6 tiếng, hết thời gian 6 tiếng các bạn cần phải chạy lại để có thể dùng tiếp. Khả năng bị ban acc khi chạy VPS liên tục rất là lớn, không khuyến nghị các bạn dùng acc chính🤪🤪🤪
Cảm ơn các bạn đã đọc bài viết của mình!!! 😍 🥰 Good Luck 😘
Nguồn: viblo.asia