Install Jenkins with Docker 🐳 🐳 🐳
Link bài viết gốc tại blog của mình https://ductn.info/install-jenkins-with-docker/
Downloading and running Jenkins on Docker
The recommended Docker image to use is the Official jenkins/jenkins
image from Docker hub repo. A new jenkins/jenkins
image is published each time a new release of Jenkins Docker is published (Don’t
use Jenkins image – Already deprecated).
OK!!! Let’s start.
Note: To install Jenkins, we need to deploy 2 containers: docker:dind
and jenkins/jenkins.
Step 1: Create bridge network for 2 container
docker network create jenkins
Step 2: Setup docker:dind(DinD: Docker-in-Docker): is just what it
says running Docker inside a Docker container
docker run --name jenkins-docker -d
  --privileged --network jenkins --network-alias docker
  --env DOCKER_TLS_CERTDIR=/certs
  --volume docker-certs-jk:/certs/client
  --volume jenkins-home:/var/jenkins_home
  -p 2376:2376 docker:dind --storage-driver overlay2
--privileged: Running Docker in Docker currently requires privileged access
to function properly.
--network-alias docker: Makes the Docker in Docker container available as
the hostname docker within the jenkins network.
--env DOCKER_TLS_CERTDIR=/certs: Enables the use of TLS in the Docker server.
--volume ~/jenkins-home:/var/jenkins_home: Mounting volume jenkins-home to
workspace directory of Jenkins.
Steps 3: Deploy container Jenkins. We can use command to run container:
docker run --name jenkins -d
  --network jenkins --env DOCKER_HOST=tcp://docker:2376
  --env DOCKER_CERT_PATH=/certs/client --env DOCKER_TLS_VERIFY=1
  -p 8080:8080 -p 50000:50000
  -v jenkins_home:/var/jenkins_home
  -v docker-certs-jk:/certs/client:ro
  jenkins/jenkins:2.289.3-lts-jdk11
But i’ll custom for my new jenkins image. Create Dockerfile:
FROM jenkins/jenkins:2.289.3-lts-jdk11USER rootRUN apt-get update && apt-get install -y apt-transport-https
    ca-certificates curl gnupg2
    software-properties-commonRUN curl -fsSL https://download.docker.com/linux/debian/gpg | apt-key add -RUN apt-key fingerprint 0EBFCD88RUN add-apt-repository "deb [arch=amd64] https://download.docker.com/linux/debian
     $(lsb_release -cs) stable"RUN apt-get update && apt-get install -y docker-ce-cliUSER jenkins
Navigate to directory with Dockerfile and build new image:
docker build -t jenkins-new:v1 .Then, we run the new jenkins image as container in Docker:
docker run --name jenkins -d
  --network jenkins --env DOCKER_HOST=tcp://docker:2376
  --env DOCKER_CERT_PATH=/certs/client --env DOCKER_TLS_VERIFY=1
  -p 8080:8080 -p 50000:50000
  -v jenkins_home:/var/jenkins_home
  -v docker-certs-jk:/certs/client:ro
  jenkins-new:v1
Check our result:
➜  jenkins git:(main) ✗ docker ps
CONTAINER ID   IMAGE            COMMAND                  CREATED        STATUS         PORTS                                                                                      NAMES
d5609c0f9f69   jenkins-new:v1   "/sbin/tini -- /usr/…"18 hours ago   Up 9 seconds   0.0.0.0:8080->8080/tcp, :::8080->8080/tcp, 0.0.0.0:50000->50000/tcp, :::50000->50000/tcp   jenkins
339877c8ca20   docker:dind      "dockerd-entrypoint.…"18 hours ago   Up 5 seconds   2375/tcp, 0.0.0.0:2376->2376/tcp, :::2376->2376/tcp                                        jenkins-docker
Now, we need to config Jenkins after installation, let access the dashboard
at localhost:8080, and unlock jenkins using password:
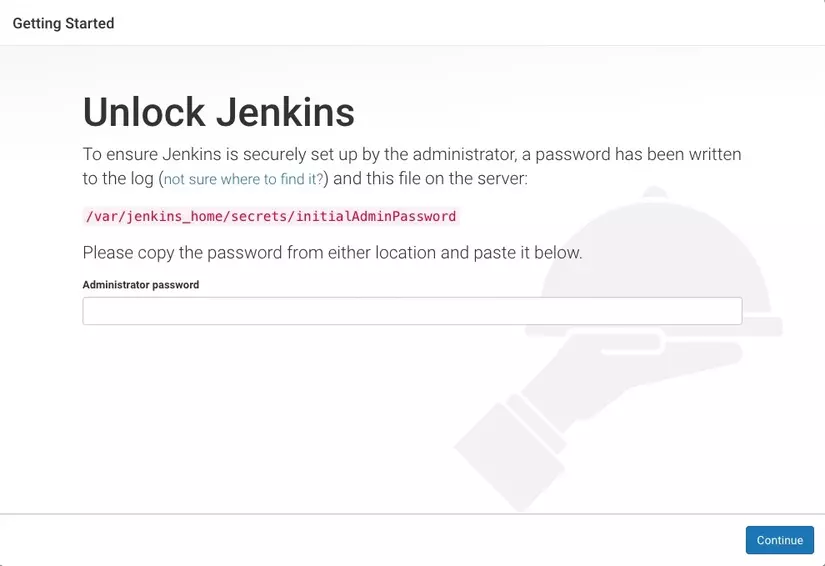
Follow the tutorial, we can take the password at /var/lib/jenkins/secrets/initialAdminPassword
CONTAINER ID   IMAGE            COMMAND                  CREATED        STATUS          PORTS                                                                                      NAMES
d5609c0f9f69   jenkins-new:v1   "/sbin/tini -- /usr/…"19 hours ago   Up 29 minutes   0.0.0.0:8080->8080/tcp, :::8080->8080/tcp, 0.0.0.0:50000->50000/tcp, :::50000->50000/tcp   jenkins
339877c8ca20   docker:dind      "dockerd-entrypoint.…"19 hours ago   Up 29 minutes   2375/tcp, 0.0.0.0:2376->2376/tcp, :::2376->2376/tcp                                        jenkins-docker
➜  jenkins git:(main) ✗ docker exec -it d5 bash[email protected]:/$ cat /var/lib/jenkins/secrets/initialAdminPassword
YOUR_PASSWORD_IN_HERE
After unlock jenkins, the Customize Jenkins page appears. We choose Install suggested plugins,
and Create Admin User. Jenkins ready to use 🤟 🤟 🤟.
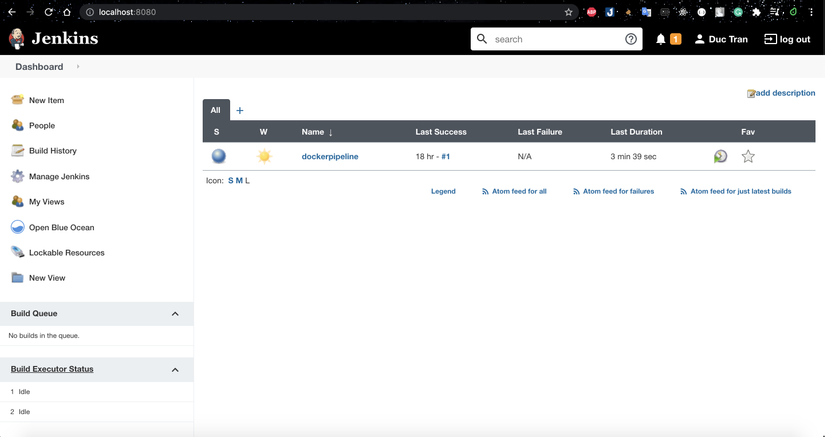
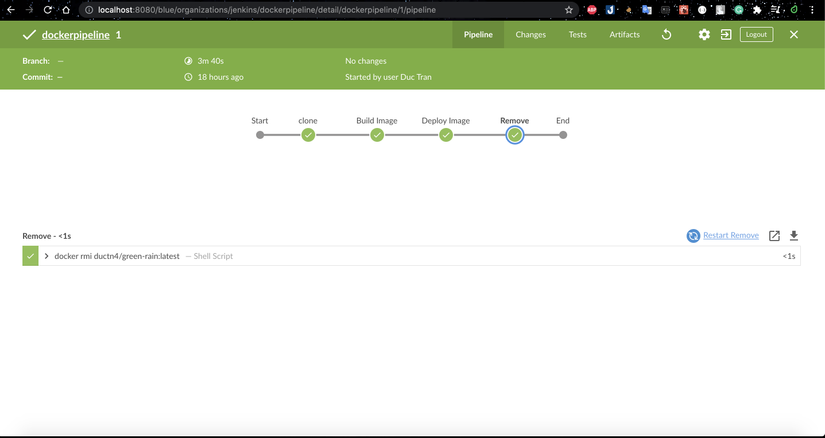
And we can install BlueOcean plugins (GUI for CI/CD Pipeline)
OK Done !!! Thanks you for reading my article 🥰🥰🥰
References
Nguồn: viblo.asia